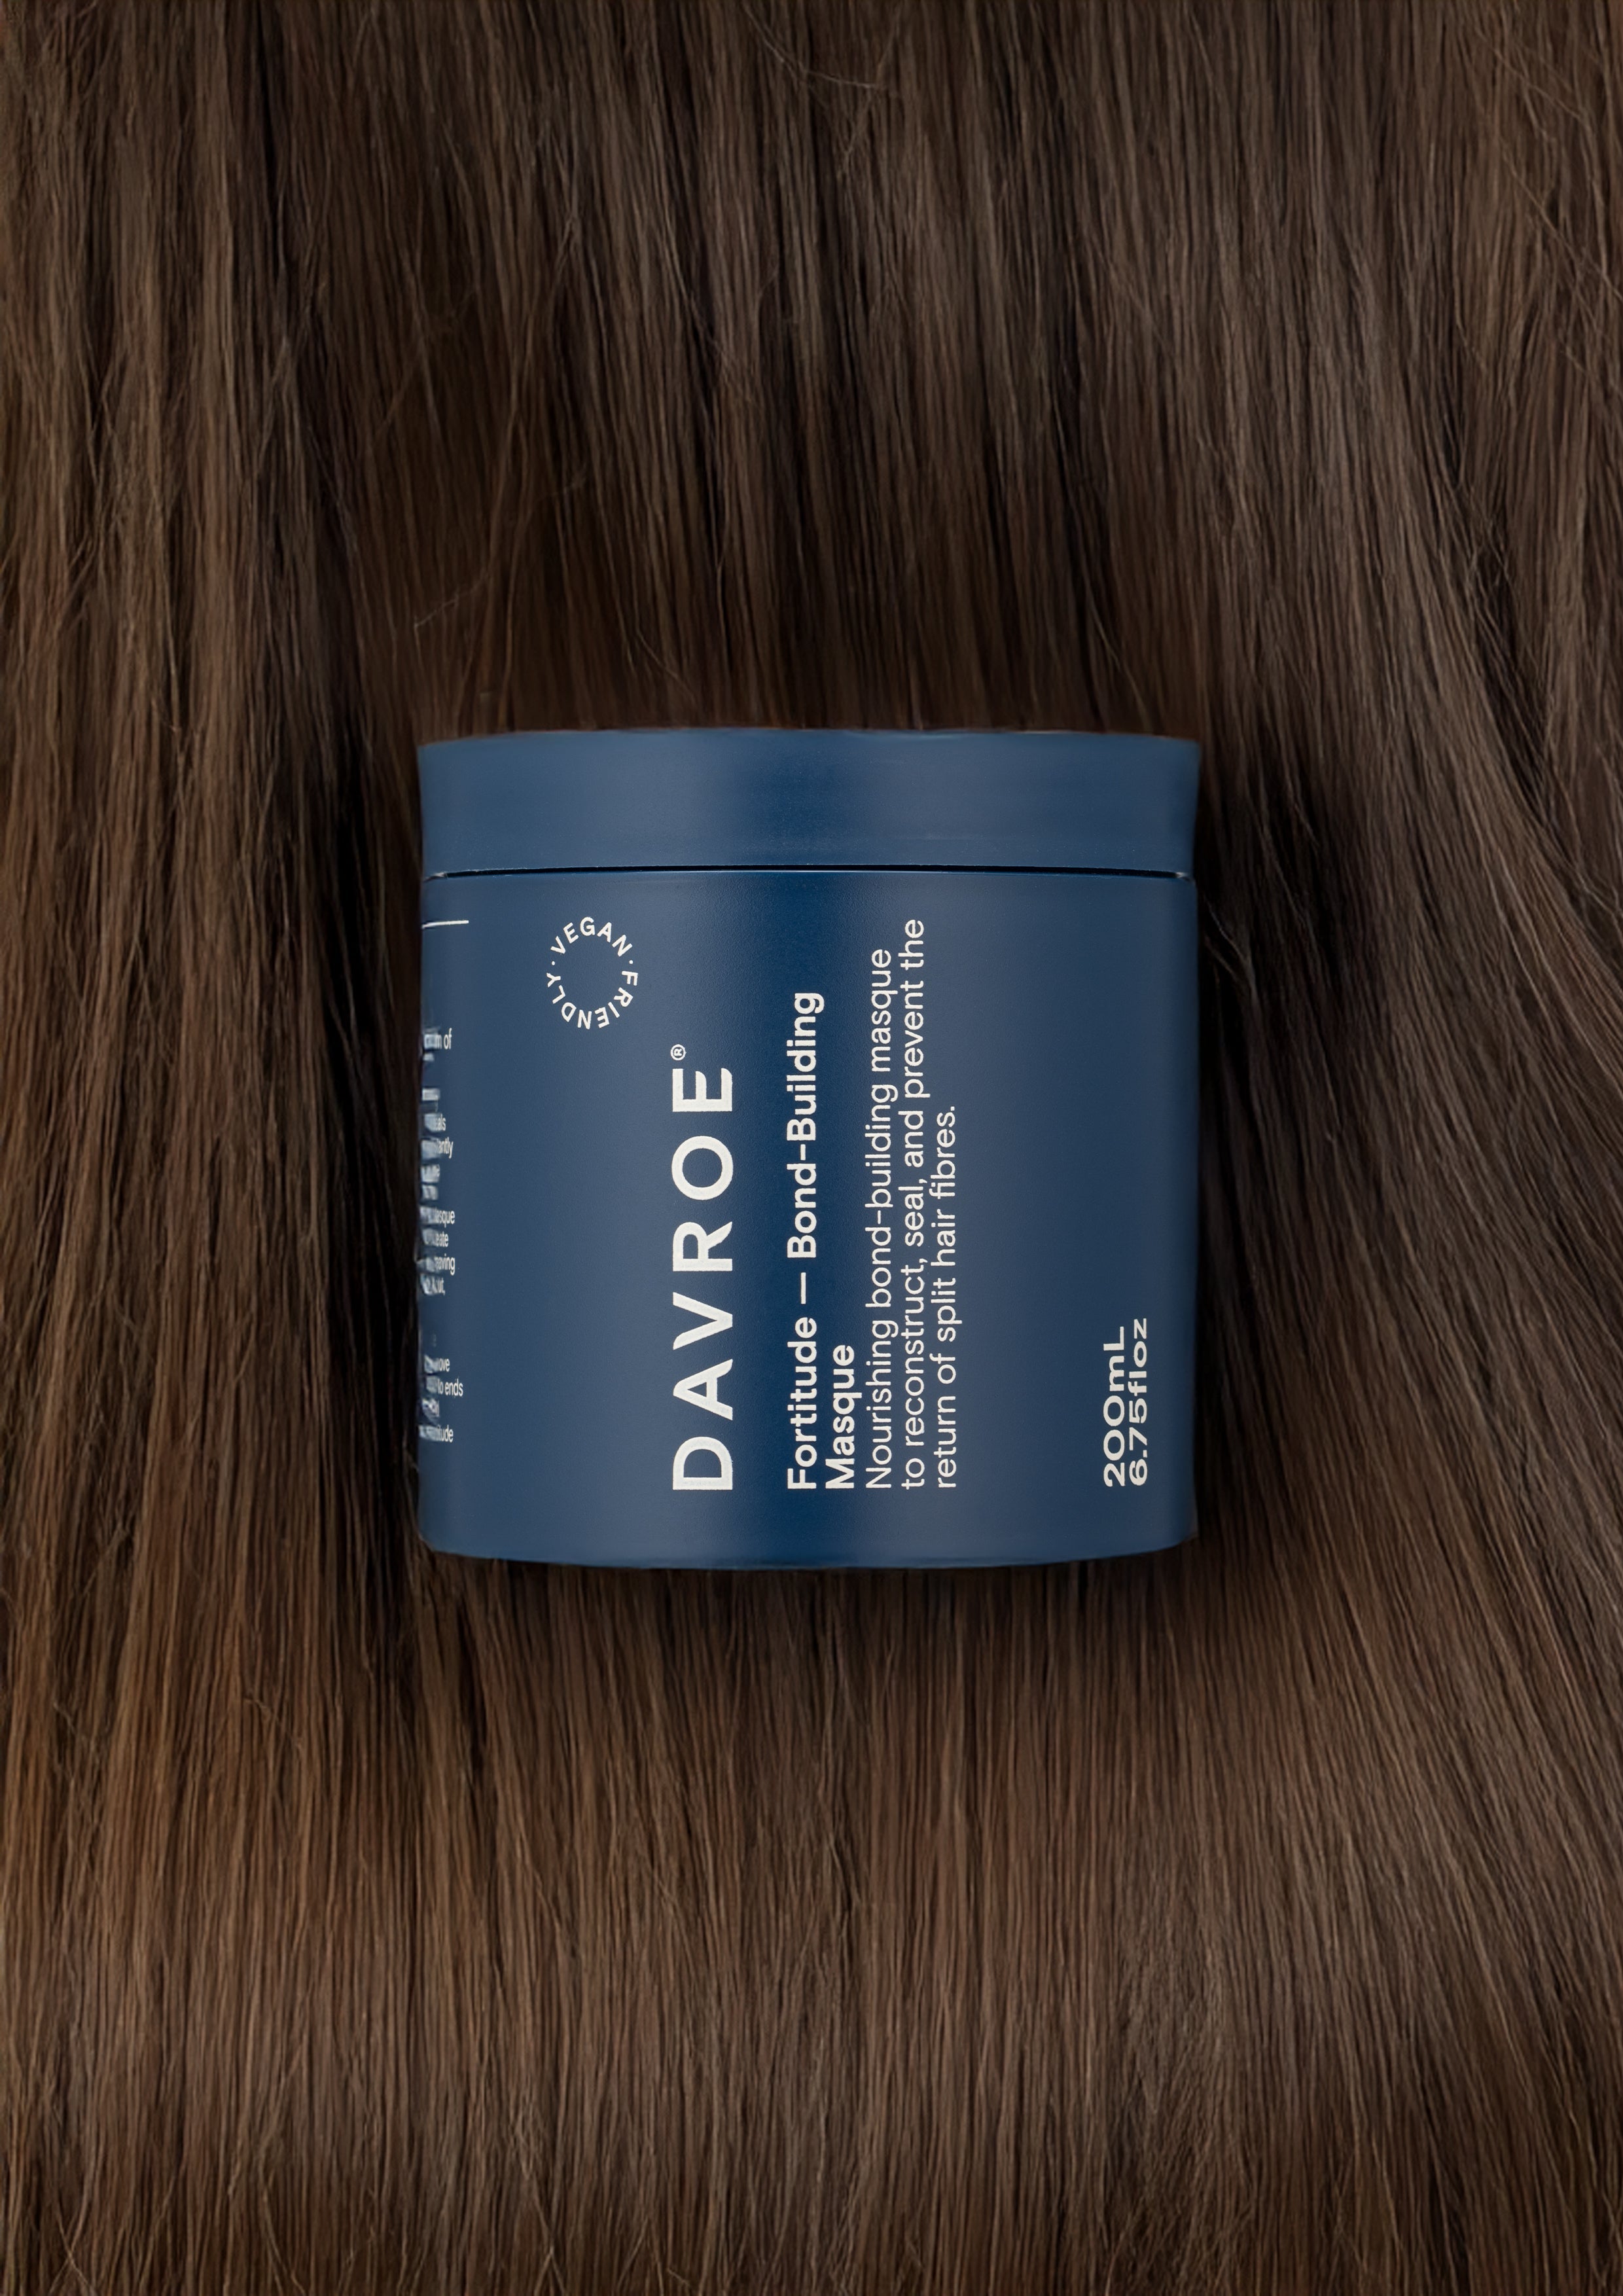


A gentle way to blend grey at home is with a demi-permanent gloss or a deposit-only root smudge, both of which soften regrowth lines without the damage risk of harsh DIY methods. Small, targeted baby lights can work too, but they carry more risk and reward patience over speed. Skip high-pH hacks like baking soda altogether, and always run a strand and allergy test first, especially if your hair has a long history of bleach or permanent colour.
TL;DR:
- Choose a deposit-only gloss shade close to your natural base, and use only 6 to 10 volume developer when product instructions require it.
- Reserve baby lights for hair without a history of permanent dye or bleaching; otherwise, consult a stylist because uneven lifting is difficult to correct.
- Use a root smudge for regrowth touchups every few weeks, and refresh a full gloss every couple of months rather than repeatedly colouring lengths.
- Purple or silver shampoo can preserve cool tones when used once or twice weekly, while a weekly conditioning mask helps replace moisture lost during processing.
- Avoid baking soda, whose pH of roughly 8 to 9 can lift the cuticle; abrasive alkaline cleansers nearly double split ends versus balanced clarifying shampoos.
Table of Contents
- Products and tools to gather before you start
- Step-by-step methods for blending grey at home
- What to avoid and when to call in a professional
- Keeping the blend looking good between sessions
- How much time and effort to realistically expect
- Small details that make an at-home blend look professional
- Why gradual change usually wins
- Where to find the products that support a safe blend
- FAQ
- Sources
Products and tools to gather before you start
Getting the right products matters more than having lots of them. A demi-permanent colour, sometimes called a deposit-only gloss, is the backbone of most at-home grey blending. Unlike permanent colour, it deposits pigment into the hair shaft without lifting your natural colour, which means softer results and far less risk of a harsh line when your roots grow back. Colourists recommend demi-permanent colour as the safest at-home option for exactly this reason.
If your chosen product requires a developer, stick to low volumes, generally 6 to 10 volume. These are strong enough to help the gloss deposit evenly but far too gentle to lift your natural pigment, which keeps the whole process low risk. Low-volume developers are what practitioners use specifically to avoid brassiness and accidental permanent lines.
Beyond the core colour product, a few supporting items make a real difference:
- A toner neutralises unwanted warmth or brassiness after lightening work, and is handy to keep on hand even if you do not use it every time.
- Colour-depositing conditioners offer a gentler top-up between full gloss sessions, ideal for maintaining tone without reapplying full product.
- Purple or silver shampoo keeps cool-toned blends looking fresh and stops yellowing between washes.
- A bond-repair treatment helps protect the internal hair structure if you are doing any lightening work, even something as mild as baby lights.
- A weekly deep-conditioning mask and a leave-in protectant keep newly coloured strands hydrated and less prone to breakage.
- Heat protectant spray is non-negotiable if you are reaching for a straightener or blow-dryer after colouring.
On the tool side, keep it simple: a mixing bowl, a tint brush, sectioning clips, disposable gloves, a small kitchen scale for accurate measuring, a shower cap, a timer, and an old towel or cape to protect your clothes. None of this needs to be expensive, but having it all ready before you start colour mixing saves you from rushing a step that needs patience, like timing your development or sectioning your hair evenly.
Step-by-step methods for blending grey at home
There are three realistic at-home approaches, each suited to a different starting point and comfort level.
Method A: demi-permanent gloss or tint
This can be a forgiving option for many people and a good place to start.
- Wash your hair with a clarifying shampoo before colouring, then let your natural oils return slightly, as this helps even absorption.
- Choose a shade close to your natural base rather than jumping several tones lighter or darker. Colourists advise choosing a shade close to the natural base to avoid brassiness or an obvious regrowth line later.
- Run a strand test on a small, hidden section first, and a skin patch test before full application if you have never used the product before.
- Mix the gloss with low-volume developer only if your product instructions call for it, measuring carefully rather than eyeballing ratios.
- Section your hair into four quadrants using clips, then apply the gloss from mid-length to ends first, saving the root area for last since it processes faster due to natural body heat.
- Set a timer for the time specified in the product’s instructions, and do not leave it longer in the hope of a stronger result.
- Rinse with cool water, apply a bond-repair or deep conditioning treatment, and air dry or style with heat protectant.
Pro Tip: Apply gloss to your mid-lengths and ends a few minutes before the roots, since root heat speeds up processing and can leave ends looking patchy if treated for the same length of time.
Method B: targeted baby lights or mini highlights
Baby lights suit hair that has not been heavily dyed or bleached before, since they involve some lightening and carry more risk than a deposit-only gloss.
- Section off small, random pieces of hair around the face and part line, where grey tends to show first.
- Use foils or a hand-painting technique to lighten only these fine sections, leaving the surrounding hair untouched for contrast.
- Apply a bond-builder to the lightened sections before or during processing to reduce structural damage.
- Check colour development regularly rather than relying on a fixed time, since fine sections lift faster than you expect.
- Tone immediately after rinsing out the lightener to prevent brassy or yellow undertones, using a gloss or toner matched to your desired finish.
- If your hair has a long history of permanent colour or bleach, this is the method where professional help is worth the extra cost, since correcting an uneven lift at home is harder than getting it right the first time; an alternative non-colour option to consider is scalp micropigmentation for gray hair for added density or contrast.
Method C: root smudge or shadow root
A root smudge blurs the line between your natural grey regrowth and your coloured lengths using a deposit-only product, with no lift involved.
- Mix a small amount of demi-permanent colour, choosing a shade that sits between your natural grey and your existing colour.
- Apply it only to the first section of regrowth, blending gently downward with your fingers or a brush so there is no hard edge.
- Leave it for a shorter time than a full gloss application, since this area processes quickly.
- Rinse, tone if needed to neutralise any brassiness, and finish with a hydrating conditioner.
Whichever method you choose, a few checks apply across the board: always patch test for allergies, always strand test for colour result, check your hair’s porosity before deciding on timing, and protect your ends with a treatment if you are lightening any part of your hair.
What to avoid and when to call in a professional
Some popular DIY shortcuts do real damage, and it is worth knowing which ones before you reach for them. Baking soda is one DIY shortcut to avoid. Baking soda sits at a pH of roughly 8 to 9, well above your hair’s natural acidity, and that alkalinity forces the cuticle open. Once the cuticle is lifted, hair becomes more prone to breakage, dryness and split ends, and there is no evidence it reverses or blends greys in any meaningful way.
Research indicates that abrasive alkaline cleansers can nearly double the rate of split ends compared with pH-balanced clarifying shampoos, a meaningful difference if you are trying to grow out a healthy blend rather than patch up damage.
Watch for these practical signs that your hair is already over-processed or heading that way:
- Split ends that appear in clusters rather than just at the very tips.
- A straw-like texture that feels rough even after conditioning.
- Immediate breakage when you comb wet hair gently.
- Colour that grabs unevenly or looks patchy despite careful application.
A salon visit is the safer call if you have a long history of permanent dye, any prior bleaching, or a sharp contrast between your natural grey and your existing colour. First-time professional grey-blending appointments typically run 3 to 4 hours, sometimes up to 6 for more extensive corrective work, which gives you a sense of how much skill and time genuine dimensional blending requires. If your at-home attempt is not behaving the way the steps above describe, that is the moment to book in rather than push further.
Keeping the blend looking good between sessions
A good blend fades fast without the right follow-up care. Build a simple weekly and monthly rhythm around these product types:
- Use a purple or silver shampoo once or twice a week if you are keeping cool, ashy tones, since it counteracts warmth before it becomes noticeable.
- Wash with a gentle, colour-safe shampoo the rest of the week to avoid stripping tone too quickly.
- Apply a deep conditioning mask weekly to replace moisture that colour processing removes.
- Use a bond-building treatment every few weeks if you have done any lightening work, even light baby lights.
Knowing which product to reach for matters as much as using one. A clear gloss adds shine and seals the cuticle without changing tone, which suits anyone happy with their current colour but wanting more vibrancy. A toned gloss shifts or corrects colour, useful if brassiness has crept in. A colour-depositing conditioner is the gentlest option, ideal for a light refresh between full applications rather than a true colour change.
Washing and styling habits extend your result further than people expect. Rinse with cooler water where you can, since heat opens the cuticle and accelerates fade. Lower your heat styling temperature and always use a heat protectant spray beforehand. Our guide on preventing colour fade covers the washing routine in more depth if you want a closer look at the period after colouring.
For root touch-ups, apply the deposit-only smudge technique from Method C regularly rather than reaching for a full re-gloss every time. This keeps the regrowth line soft without repeatedly processing hair that is already coloured.
How much time and effort to realistically expect
Grey blending is rarely a one-session job, at home or in a salon, and setting the right expectations early saves frustration later.
- A first professional grey-blending appointment typically runs 3 to 4 hours, sometimes up to 6 for complex corrective work, which reflects how much precision true dimensional blending takes.
- At home, a demi-permanent gloss session takes time for mixing, application and rinsing.
- Baby lights at home can take longer, depending on hair length and how fine your sections are.
- If you are transitioning from heavily dyed hair to a fuller silver blend, expect a staged approach over several months rather than a single transformation.
Cost in effort matters as much as cost in dollars. Buying the right products once and following the steps carefully is far cheaper, in both money and hair health, than needing corrective colour work after a rushed or mismatched attempt. If you are unsure whether your hair can handle a technique, that uncertainty is itself a sign to start with the gentlest method, the root smudge, before attempting anything with lift.
Small details that make an at-home blend look professional
A few details separate a convincing blend from an obvious DIY job. Matching your silver’s warmth to your skin tone matters more than most people realise: cooler skin tones generally suit ashier silvers, while warmer skin tones often look better with a touch of gold or champagne mixed through.

Test your hair’s porosity before you commit to timing. Drop a clean strand in a glass of water: if it sinks quickly, your hair is more porous and will likely process faster than the product instructions suggest.

Take photos in natural light before you begin, front and both sides, so you have a clear reference for where your grey concentrates and can plan placement accordingly, or show a stylist later if you need a correction.
Pro Tip: If your hair is on the more porous side, mix a small amount of demi-permanent colour into your regular conditioner for a very gentle, low-commitment tint that is easy to adjust next wash.
Why gradual change usually wins
There is no prize for rushing a grey transition, and the hair that looks most natural is almost always the hair that got there slowly. A soft root smudge redone every few weeks, or a gloss refreshed every couple of months, tends to age better than one dramatic all-over change.
Treating this as a process rather than an event also protects the thing that matters most: your hair’s actual condition. A beautiful blend on damaged, straw-like strands never reads as healthy, no matter how well the tone is matched. Patience and the right products do more for the final look than speed ever will.
— Burgs
Where to find the products that support a safe blend
Once you know which products a technique calls for, the easier job is sourcing ones that actually perform. We stock salon-grade glosses, bond-building treatments, purple and silver shampoos and heat protectants from brands trusted by professional accounts, so you are working with the same calibre of product a stylist would reach for, just in your own bathroom.
Our treatments collection covers bond-repair and conditioning options for anyone doing lightening work, while our shampoo and conditioner range includes the purple and silver formulas that keep a cool blend looking fresh between sessions. Match the product type to the step you are at, whether that is a weekly toning wash or a monthly deep treatment, and follow the instructions on your chosen product closely. Check the shipping terms for free-shipping details, which makes it easy to stock the full kit, from gloss to protectant, in one go. Start browsing our haircare range to put together what your blend needs.
FAQ
How do stylists do grey blending?
Stylists typically combine techniques like root smudging, reverse balayage, baby lights and lowlights to create a dimensional, multi-tonal result rather than one flat colour. First-time appointments usually run 3 to 4 hours, sometimes up to 6 for more extensive corrective work, because matching tone and placement precisely takes time.
What will baking soda do to grey hair?
Baking soda will not blend or reverse grey hair in any lasting way, and it can do real damage trying. Its high pH forces the hair cuticle open, which increases dryness, breakage and split ends compared with pH-balanced alternatives.
How do you get salt and pepper hair?
A salt and pepper look usually comes from letting natural grey grow through while softening the contrast with techniques like baby lights, lowlights or a root smudge rather than fully covering the grey. A demi-permanent gloss close to your natural base is a gentler at-home way to ease into this look without a harsh regrowth line.
Can you dye just your grey hair?
Yes, targeting only the grey sections is a common approach, often done with a root smudge or small, hand-painted sections rather than an all-over application. This keeps the rest of your colour undisturbed and reduces how much product and processing your hair goes through overall.
Sources
- The Art of Gray Blending: One Stylist’s Approach to a Beautiful Transition | Modern Salon
- How to Use Demi Permanent Hair Color to Grey Blend - Ask the Hair Color Expert