
Use mousse for root lift and fine or loose waves. Use gel for stronger hold, frizz defence, and tighter or thicker curls. Combining both with mousse at the roots and gel through the lengths can provide volume and lasting definition. Apply either with praying hands, then scrunch the ends to encourage clumping. Prohair’s salon partners rely on the same simple logic every day.
TL;DR:
- Mousse provides a lightweight lift and volume ideal for fine or loose waves, while gel offers stronger hold and humidity resistance for tighter curls.
- Layering mousse at the roots with gel through the lengths offers combined volume and long-lasting definition, especially in changeable weather.
- Application on soaking wet hair and using smoothing and scrunching techniques significantly improve results, regardless of product choice.
- Using less product initially and adjusting based on drying method helps prevent overapplication and maintains natural curl movement.
- Professional formulas with water-based polymers and humectants outperform cheaper options by reducing flaking and maintaining moisture.
Table of Contents
- Mousse vs gel at a glance: hold, finish and volume
- Which should you start with for your hair type?
- How do you actually apply mousse or gel correctly?
- Can you layer mousse and gel, and what mistakes ruin the result?
- Why does formula quality change how mousse and gel perform?
- A stylist’s honest take on choosing between mousse and gel
- Build your starter routine with Prohair
- Sources
- FAQ
Mousse vs gel at a glance: hold, finish and volume
The mousse vs gel decision really comes down to three things: how strong a hold you need, how your hair feels afterwards, and how much lift you’re chasing at the root. Mousse is a foamed, air-light formula that adds body without much weight, which is why it’s the go-to for fine or low-density waves that fall flat by midday. Gel is denser and forms a film around each strand, which is what gives it superior hold and humidity resistance compared with mousse.
That gel film often dries into a stiff “cast,” and this is where a lot of people get put off gel unnecessarily. The crunch isn’t the final result. It’s a temporary shell that you scrunch out once hair is fully dry, leaving soft, defined curls behind. Skip that step and you’re left wondering why your gel feels stiff all day, when the fix takes ten seconds.
- Mousse: soft to medium hold, airy and touchable finish, strong at adding volume, moderate frizz control.
- Gel: medium to strong hold, cast finish (until scrunched out), less volume-focused, better frizz and humidity defence.
- Combined: volume from the mousse plus staying power from the gel, best for changeable weather or long days.
Brand comparison pages selling both products describe the same basic split: mousse for airy volume, gel for stronger hold and frizz control. It’s consistent enough across the industry to treat as a reliable starting rule, not just marketing language.
Which should you start with for your hair type?
Hair type, density and how tight your curl pattern sits all change the answer. Here’s how to map it out honestly, rather than guessing and hoping.
Loose waves (2A to 2C): Mousse is usually the better starting point. Its lightweight structure gives you root lift without weighing down fine strands, which is exactly the problem most wavy hair runs into. If your roots go flat within a few hours, a golf-ball sized dollop of mousse worked in at the scalp, then combed through with fingers, solves it far more often than gel does.
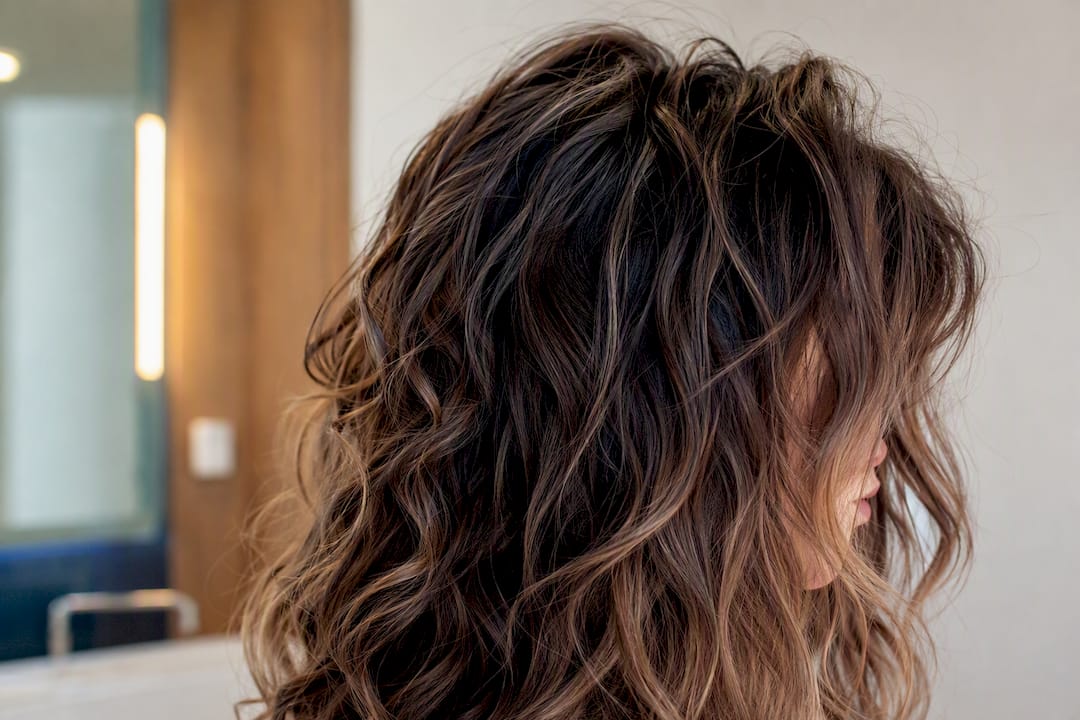
Medium curls (3A to 3B): This is where things get interesting, because either product can work depending on your goal. A pea-sized amount of lightweight gel gives clean definition without crunch. If you want extra bounce, layer a small amount of mousse at the roots first, then a thin layer of gel through the mid-lengths and ends.
Coarse or coily hair (3C to 4C): Gel alone often isn’t enough here, because tighter curl patterns lose moisture faster and need a heavier hand. A curl cream first, for moisture and slip, followed by gel on top for hold, tends to outperform mousse in this range. Mousse can still help at the crown for lift, but it shouldn’t be doing the heavy lifting on definition.
- If you’ve got 2C hair with flat roots: mousse worked into roots, light gel on mid-lengths.
- If you’ve got 3B hair with high density: cream first for moisture, gel last for hold.
- If you’ve got fine 3A curls: mousse alone may be plenty, since gel can weigh fine curls down.
Pro Tip: Start with less product than you think you need, roughly a pump of mousse or a pea-sized amount of gel per section, and add more if the second half of your head needs it. It’s far easier to layer more on than to strip out an overload.
Whether you diffuse or air-dry also shifts the equation slightly. Diffusing amplifies whatever the product is doing, so mousse-heavy routines get bouncier and gel-heavy routines hold tighter clumps. Air-drying is gentler and tends to suit gel-based routines better, since the cast has time to set undisturbed.

How do you actually apply mousse or gel correctly?
Getting the technique right matters more than the product choice itself. Most disappointing results trace back to application, not formula.
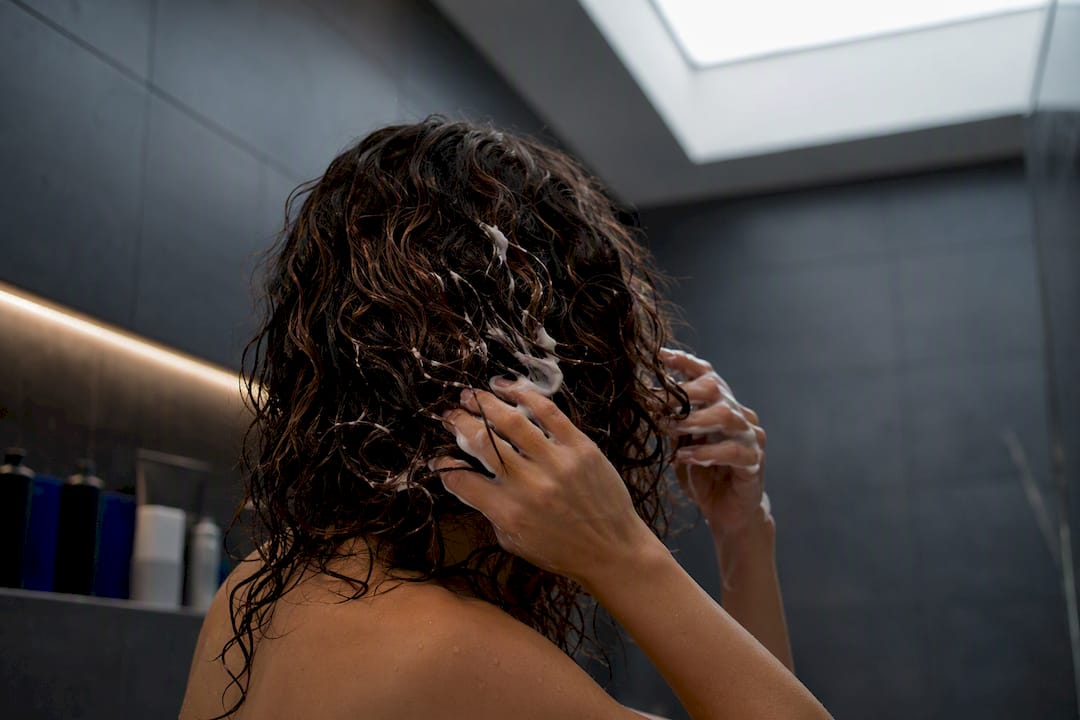
- Start on soaking wet hair, not just damp. Both mousse and gel distribute more evenly on dripping wet strands, and gel especially needs that extra water to form a proper cast rather than sitting in patchy globs.
- Use praying hands to smooth product through mid-lengths and ends. Press your palms together with product between them, then run them down each section from root to tip, smoothing the cuticle as you go.
- Rake gently with fingers for separation, especially with mousse, to distribute the foam without disturbing the curl’s natural clump.
- Scrunch upward toward the scalp to encourage clumping and bounce. This is the step that actually builds volume, not just the product itself.
- Choose your drying method deliberately. Diffusing on low, medium heat cuts drying time and boosts volume; air-drying under a microfibre wrap protects the cast while it sets and reduces frizz from friction.
- Once fully dry, scrunch out the cast. Cup sections in your hands and gently crunch upward. The crispy feeling disappears and soft, separated curls remain.
Pro Tip: Never skip step six. Leaving a gel cast in place because it “feels like it’s working” is the single most common reason people say gel makes their hair feel stiff and unnatural.
Can you layer mousse and gel, and what mistakes ruin the result?
Yes, and layering is genuinely the most reliable approach for a lot of curl types, not a compromise. The sequence that works for most people is cream first for moisture, mousse next (optional) for root lift, and gel last to lock the shape in. Fine hair can usually skip the cream step entirely and go mousse-then-gel; coarser hair often needs the cream to avoid dryness once gel is added on top.
A few mistakes show up again and again, and each has a simple fix.
- Applying gel to hair that’s only damp, not wet. It clumps unevenly and dries patchy. Fix: rewet with a spray bottle before applying.
- Piling product at the roots when you actually need lift, not weight. Fix: keep root application light and concentrate gel through the lengths.
- Breaking the cast too early, while hair is still tacky. Fix: wait until it’s completely dry, even if that means an extra 20 minutes.
- Over-scrunching after the cast is removed, which breaks up clumps you just spent time forming. Fix: one or two gentle scrunches is enough.
For a day-two refresh, mist hair lightly with water, work through a small amount of mousse with cupped hands, and scrunch gently to revive the clumps without a full restyle.
Why does formula quality change how mousse and gel perform?
Not all mousse and gel formulas behave the same way, and the difference usually comes down to the polymer and humectant blend, not just the branding on the bottle. Professional formulations tend to use polymer blends designed to flex with movement rather than fracture into flakes, and humectants that draw moisture in without leaving hair feeling stiff or straw-like the next day. Cheaper mousses in particular got a reputation for drying hair out, but modern formulations with conditioning ingredients built in have largely moved past that problem.
Salon-grade doesn’t mean complicated. It means the formula was built to hold up under professional standards for hundreds of different heads of hair, not just tested once and shipped.
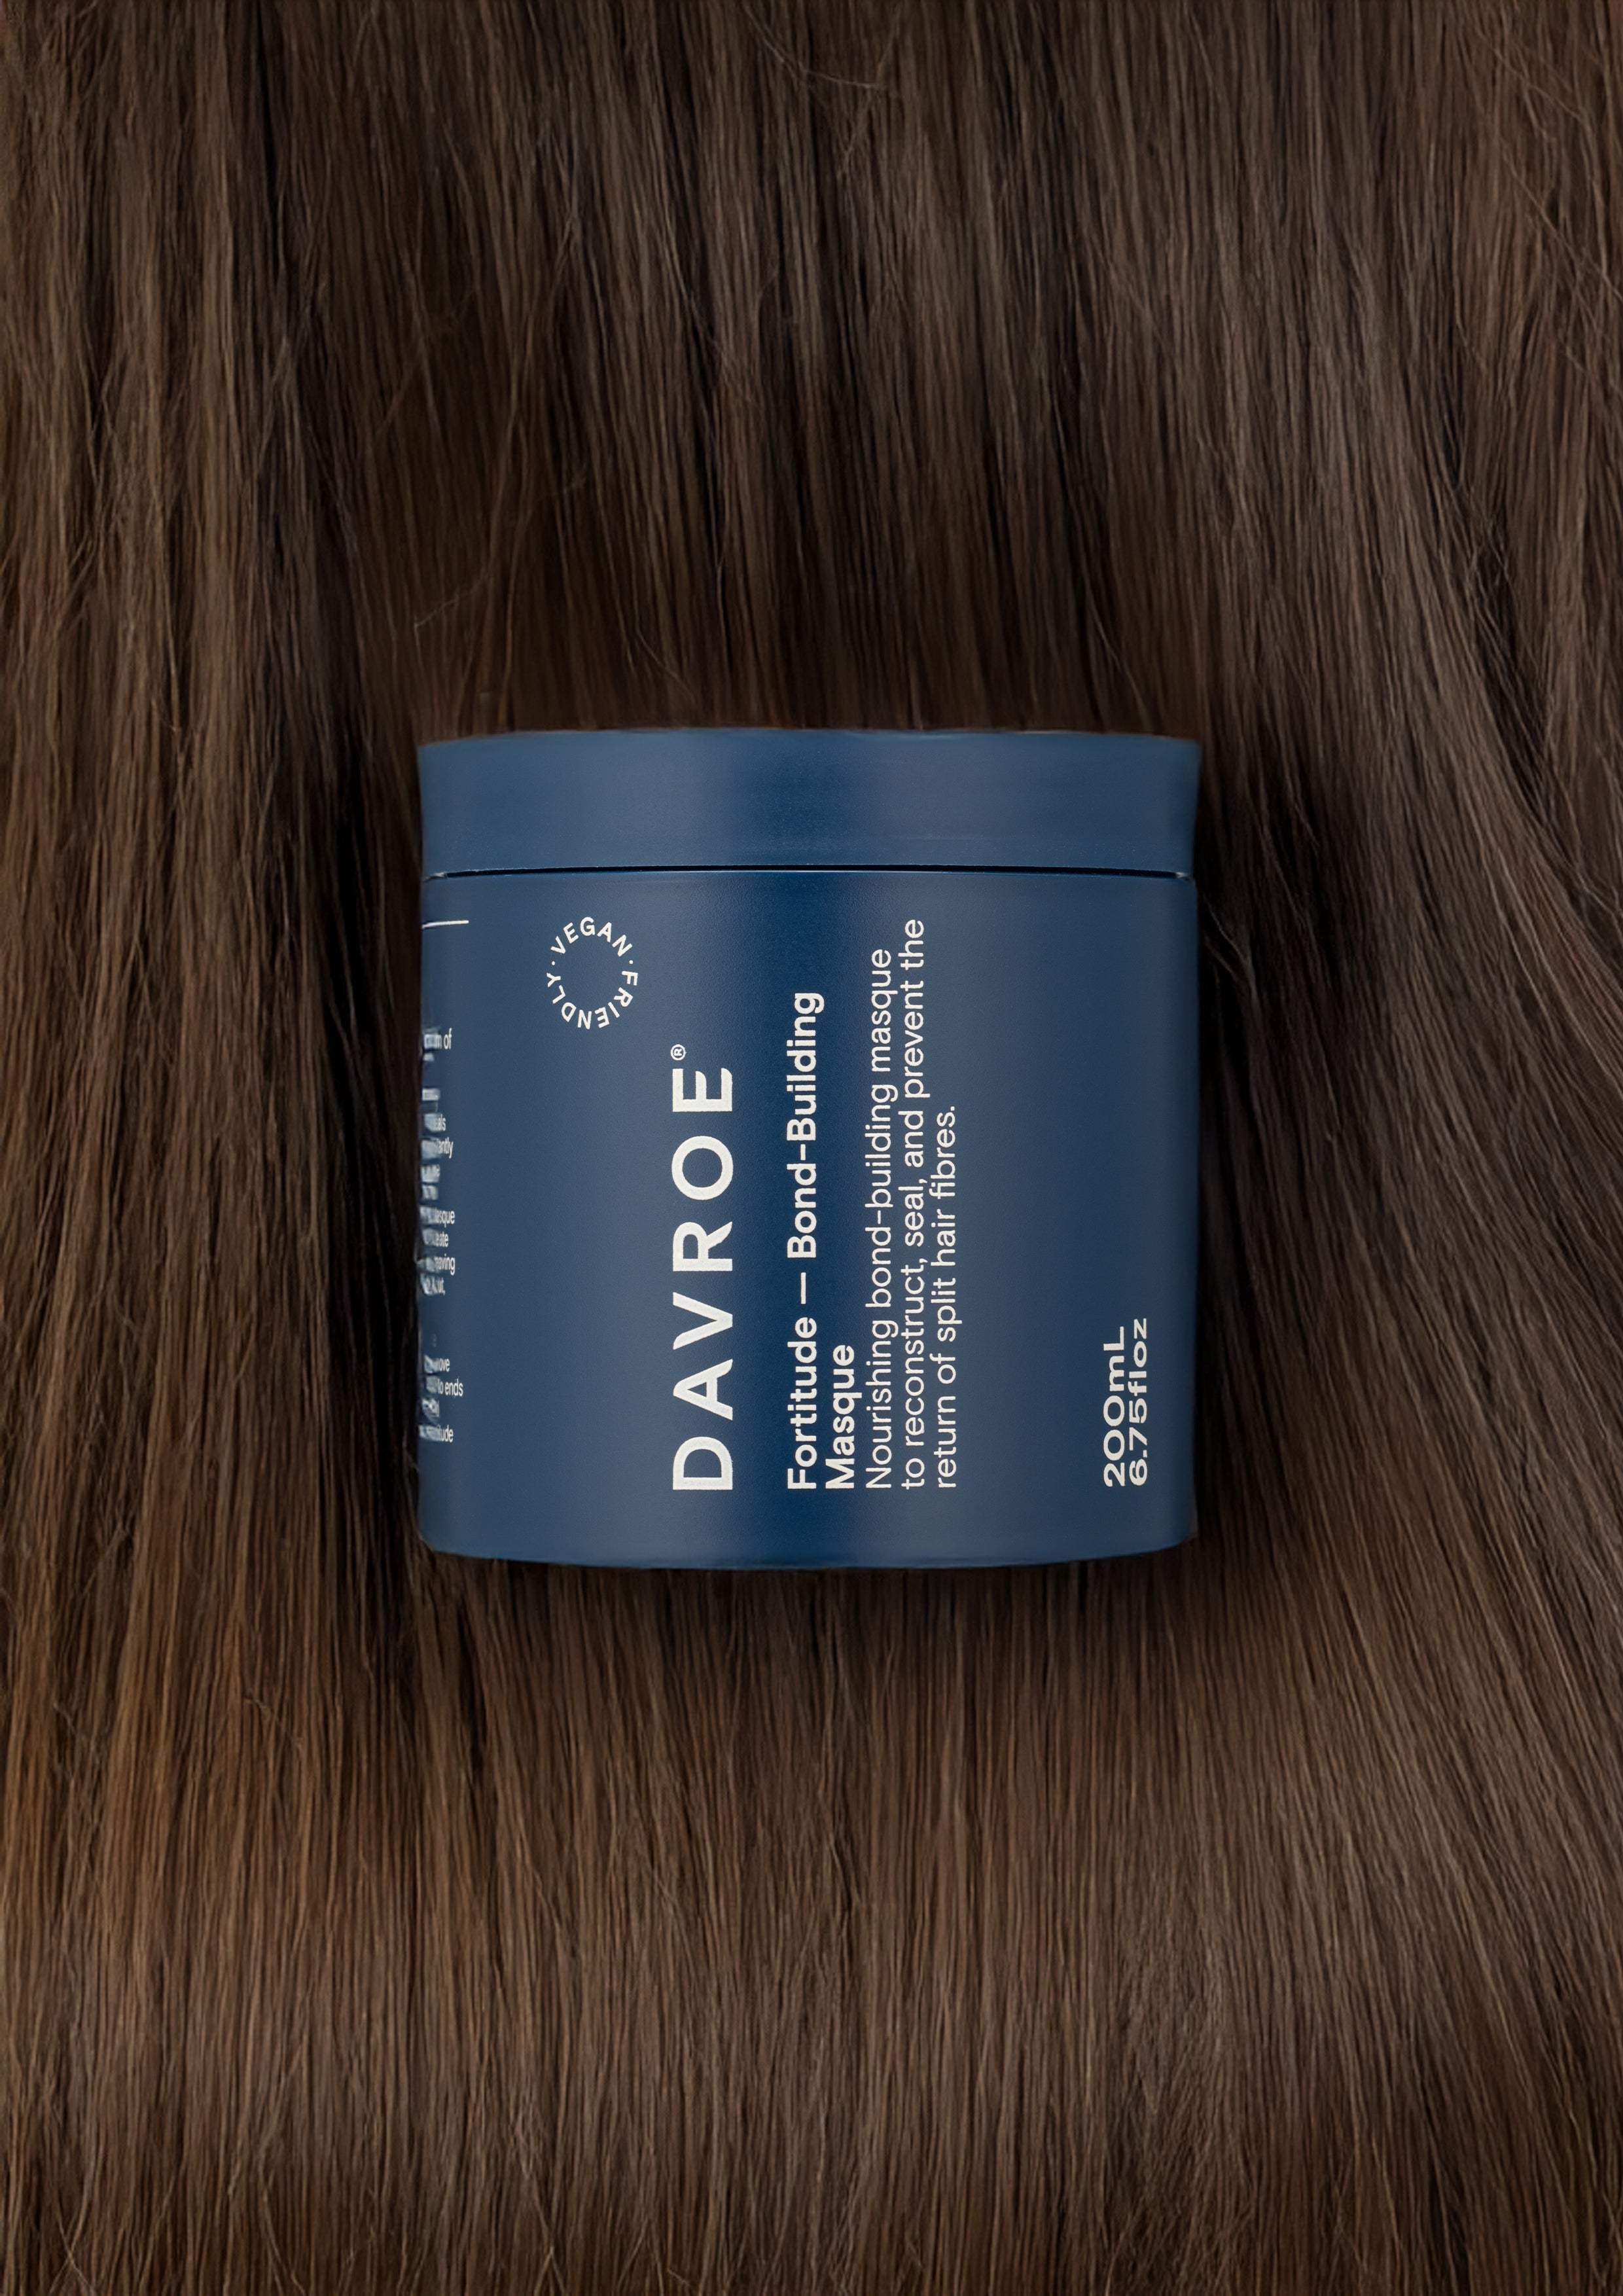
Prohair’s formulas are trusted by more than 500 salon accounts across New Zealand, which means the mousse and gel behaviour described here has already been stress-tested on real curl types in professional settings, not just in a lab. The Davroe CURLiCUE Curl Gel is a practical example of that professional polymer approach in a bottle you can use at home. If you’re sensitive to certain ingredients, checking product labels for water-based polymers and named humectants (glycerin is a common one) is a straightforward way to avoid buildup or flaking, and resources like SmartLabel’s ingredient listings make that easier to do before you buy.
Buying a trial or travel size before committing to a full-size bottle is worth doing, especially if you’re switching from a product you’ve used for years. It costs less to find out a formula doesn’t suit your hair from a small size than a large one.
A stylist’s honest take on choosing between mousse and gel
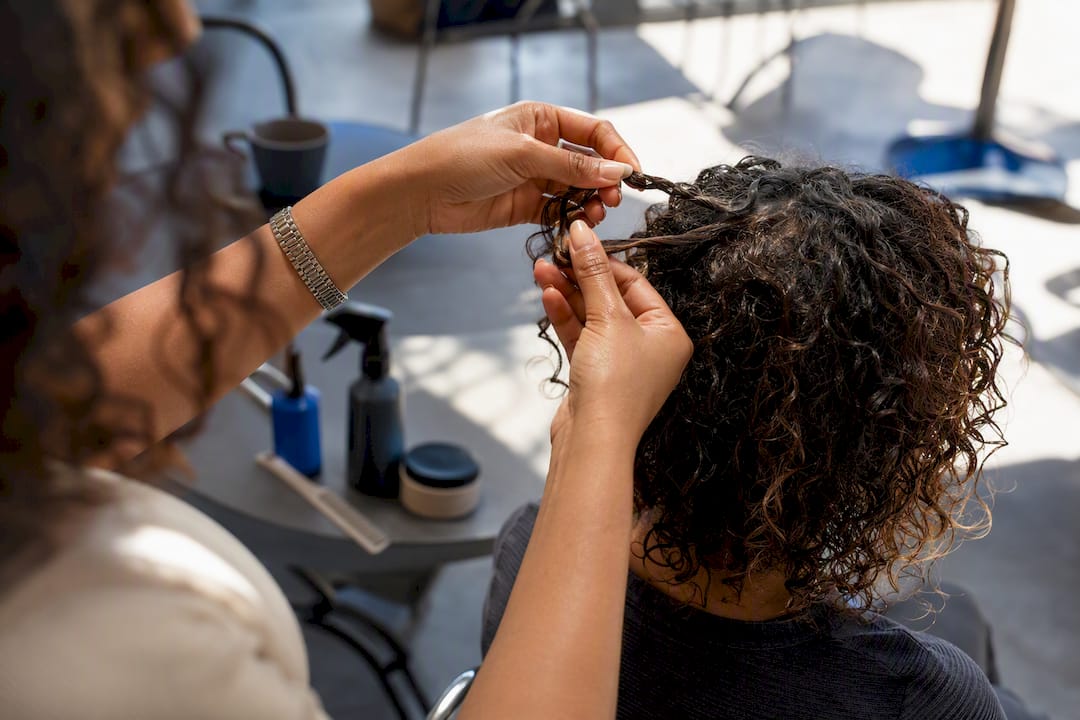
Most people overthink the mousse vs gel decision when the real answer is to test one variable at a time. Change the product, not the technique, and see what happens. Then change the amount before you change the product again. Too many people blame the wrong variable and give up on a product that would have worked with half the amount or a different drying method.
Three experiments worth running: halve your usual product amount for a week and see if hold actually drops, switch from air-drying to diffusing without changing anything else, and try gel on soaking wet hair if you’ve only ever applied it to damp hair before. Small, single-variable changes tell you more in a week than switching brands ever will.
— Burgs
Build your starter routine with Prohair
Prohair makes it simple to buy the exact products this routine calls for, without hunting through a dozen brands to find formulas that actually work together. For most wavy or curly hair starting out, a lightweight volumising mousse paired with the Davroe CURLiCUE Curl Gel covers both jobs described above: lift at the root, hold and frizz defence through the lengths.

If you’re not sure which combination suits your curl pattern, start with a smaller size of each and patch test on one section before committing to a full routine. Pair either styler with the Davroe CURLiCUE Curl Balm as your moisture layer if your hair leans coarse or dry. Free shipping applies on orders over $100, which makes building out a full starter kit in one order genuinely convenient. Head to Prohair’s online store to shop the range and adjust from there once you see how your curls respond.
Sources
FAQ
Which is better for your hair, gel or mousse?
Neither is universally better. Mousse suits fine or loose waves needing lift and volume, while gel suits tighter or thicker curls that need stronger hold and frizz control.
Do I need gel if I already use mousse?
Not always. If mousse alone gives you the hold and definition you want, you don’t need gel, but if your curls fall or frizz by afternoon, a light gel on top usually extends the result.
Who should avoid using mousse?
People with very coarse or coily hair that needs heavy moisture and strong hold often find mousse too light on its own and get better results building their routine around cream and gel instead.
Is mousse or gel better for fine, thin hair?
Mousse is generally the better starting point for fine hair, since its lightweight foam adds root lift without weighing strands down, which heavier gels can sometimes do.