
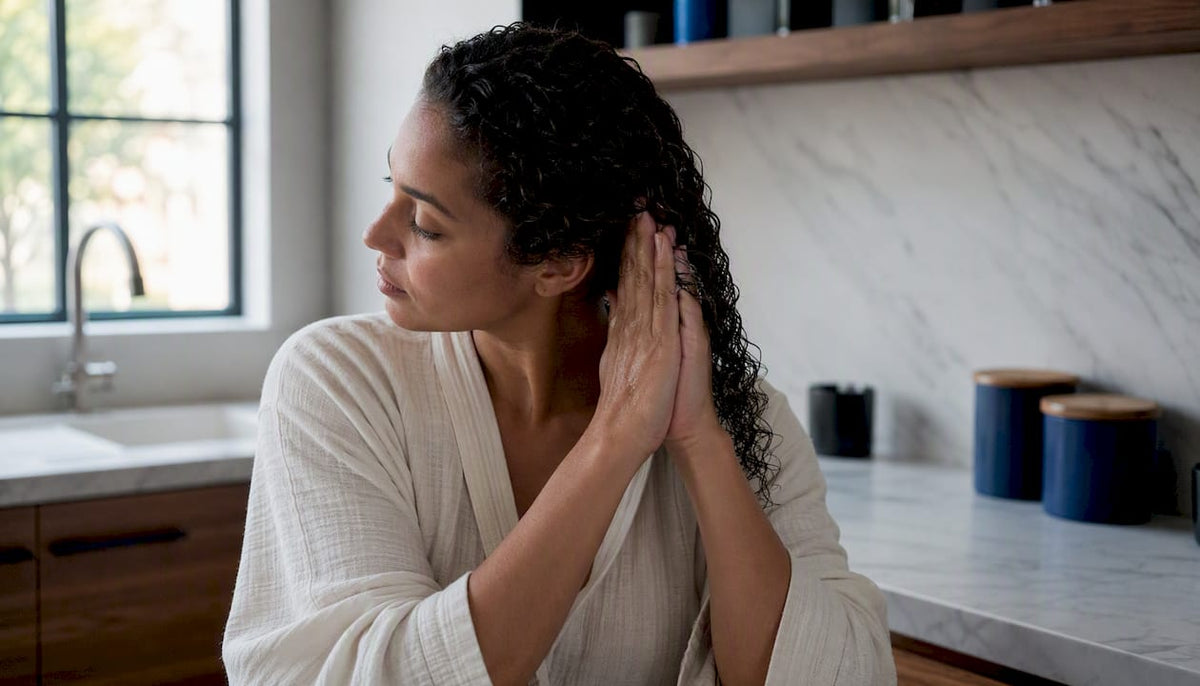
Your curly hair routine comes down to five steps you can start today: cleanse, condition, apply leave-in, layer your styling product, then dry without touching. On wash day, plan for about 20 minutes of active time and 1–2 hours of drying. According to Zenvy’s step-by-step guide, the four-step wash-day structure covers most curl types, with frequency adjusted by pattern. That’s the whole framework. Everything else is refinement.
Your wash-day checklist:
- Clarify or cleanse (sulfate-free shampoo or co-wash)
- Condition and detangle with fingers or a wide-tooth comb
- Apply leave-in on soaking-wet hair
- Layer cream or gel, scrunch upward
- Plop or diffuse, then leave it alone
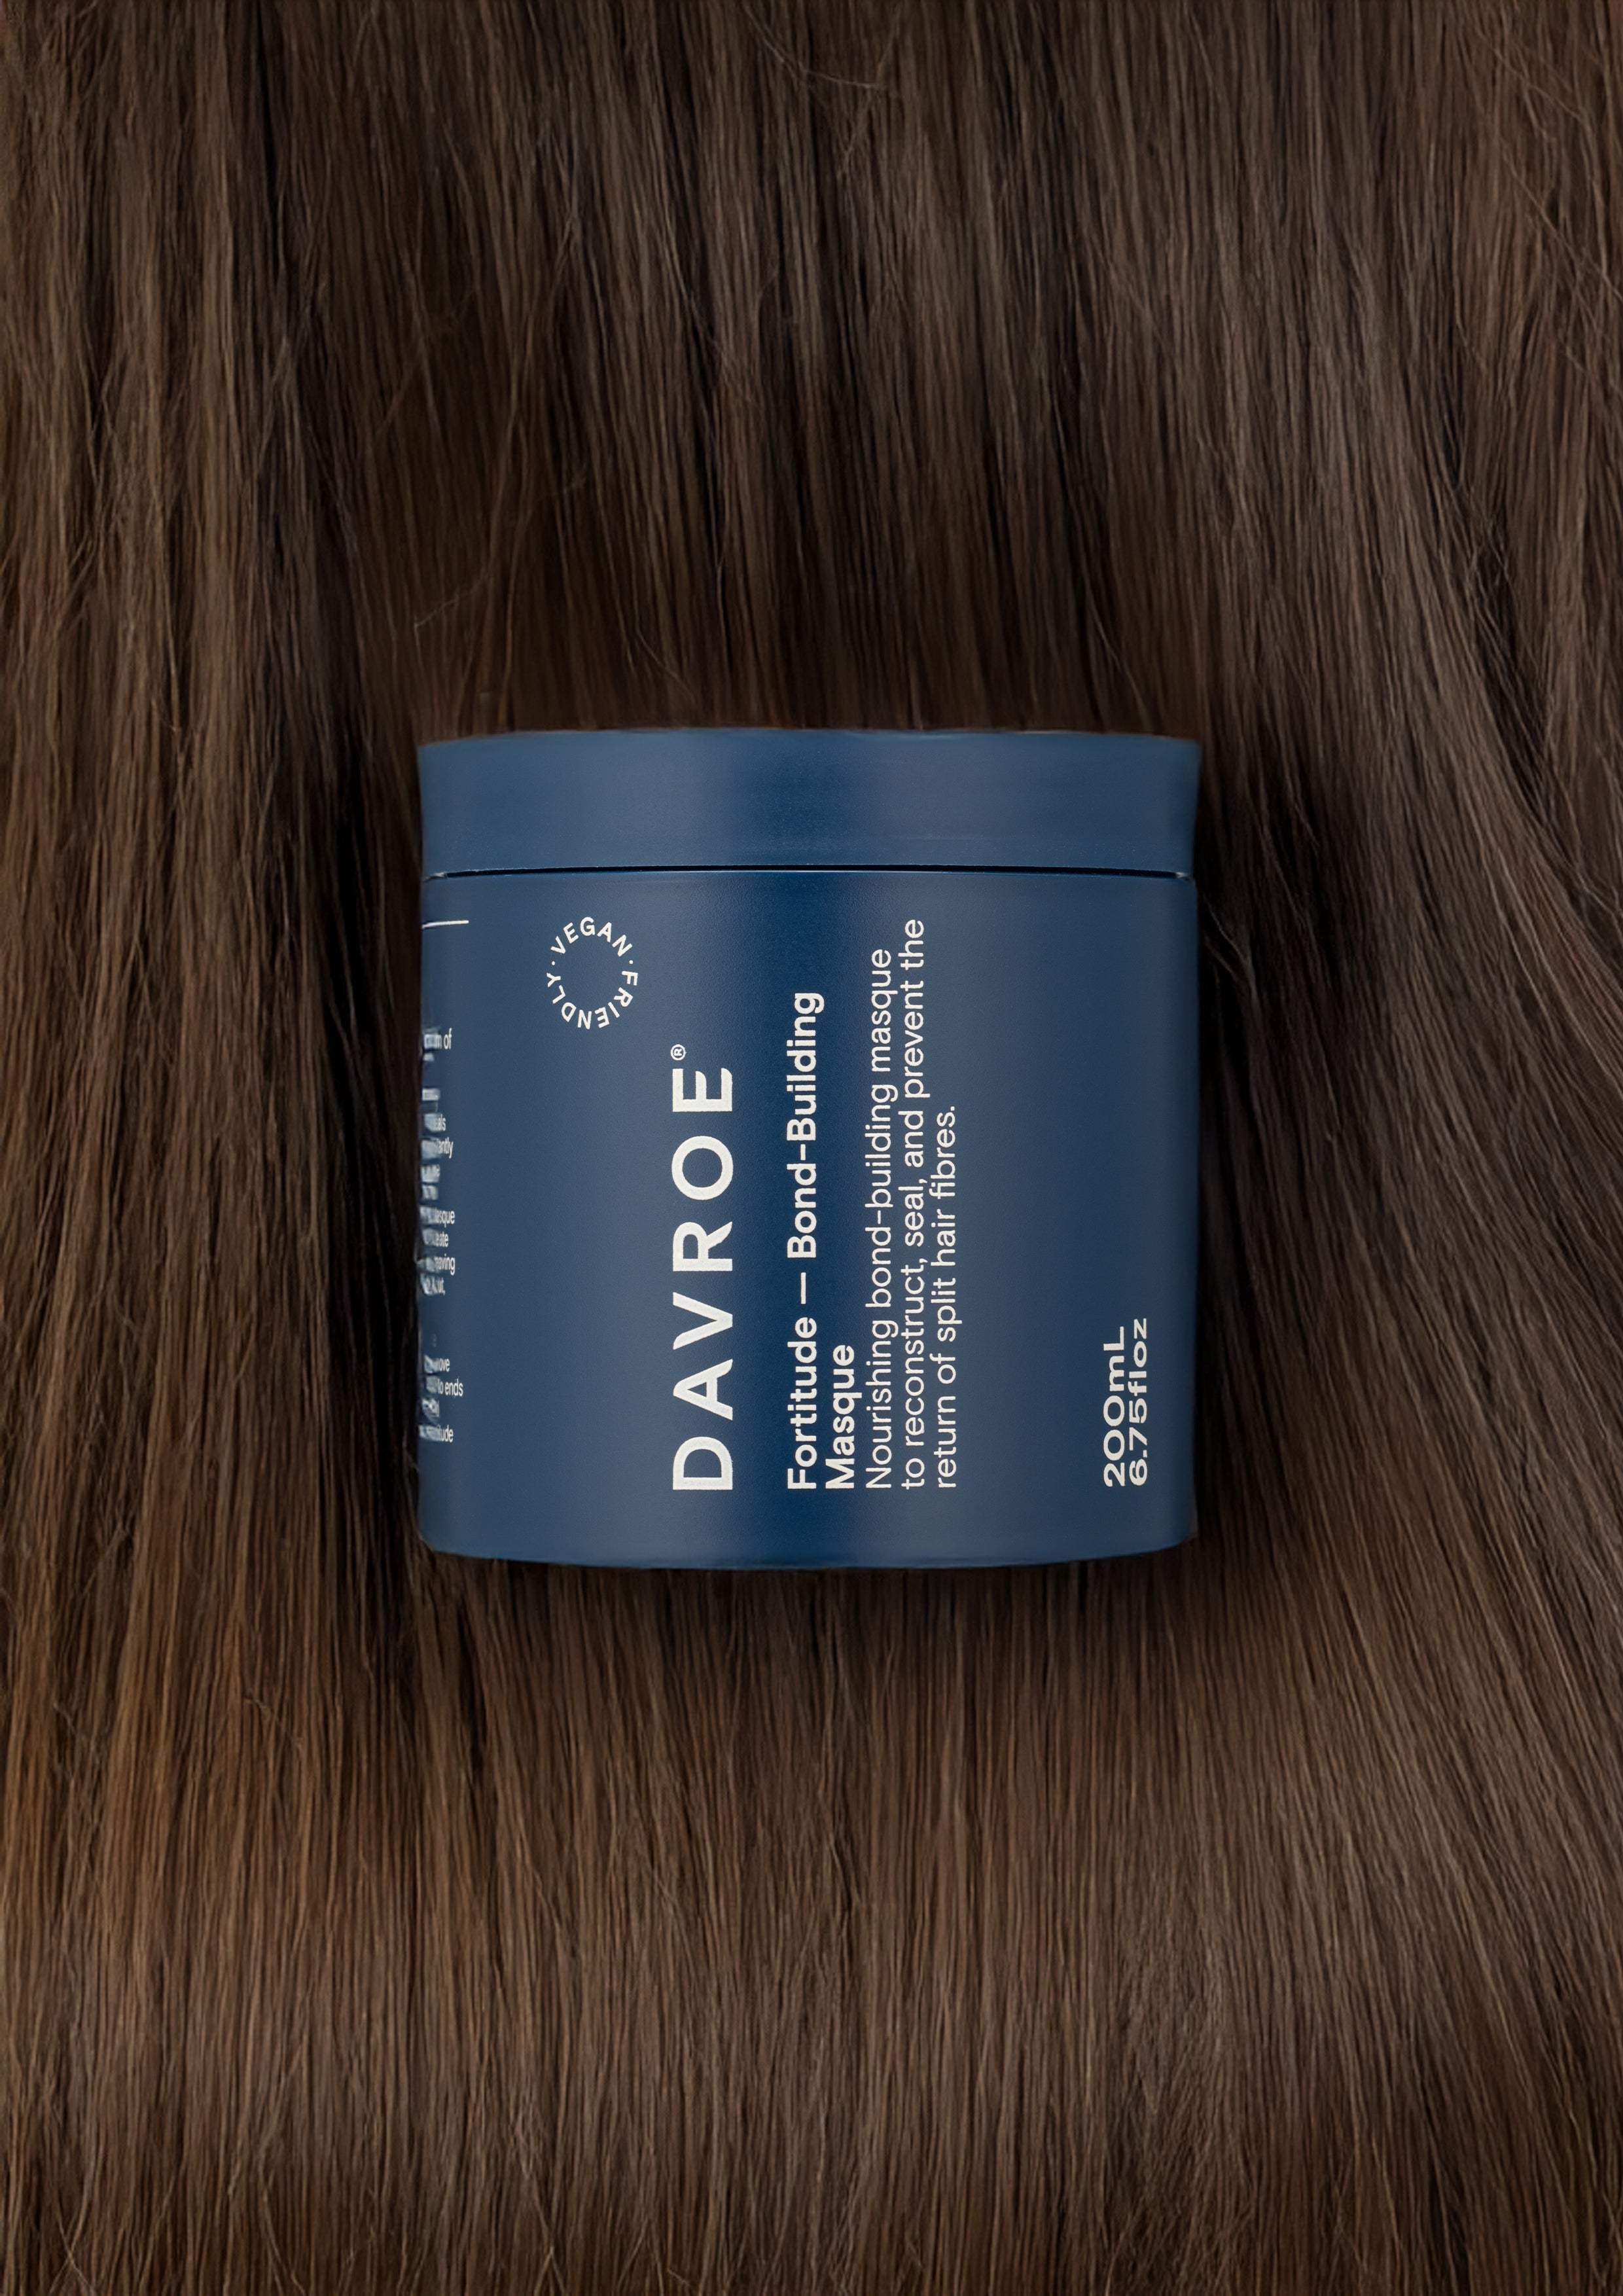
For cleansing, the KOBO Curl Defining Shampoo is a salon-grade option that cleanses without stripping. For deep conditioning, the Davroe CURLiCUE Deep Conditioning Rinse adds the moisture curls need between washes. Finish with the Davroe CURLiCUE Curl Balm for definition and hold.
Pro Tip: Stylist Aminata advises that a simple, consistent six-step backbone outperforms a shelf full of products every time. Pick your routine and repeat it before you add anything new.
Key Takeaways
A consistent five-step curly hair routine applied to soaking-wet hair, with products layered in the correct order, produces better results than any number of products used in the wrong sequence.
| Point | Details |
|---|---|
| Apply to soaking-wet hair | Products applied to half-dry hair trap air pockets and cause frizz; hair should drip water at application. |
| Layer in the correct order | Always apply leave-in first, then cream, then gel — never reverse the order. |
| Match wash frequency to curl type | Type 2 every 2–4 days, type 3 every 4–7 days, type 4 every 7–14 days. |
| Clarify and deep condition regularly | Clarify monthly to remove buildup; deep condition weekly for type 3–4 textures. |
| Prohair for NZ-ready salon products | Davroe and KOBO lines available through Prohair cover every routine step with professional-grade formulas. |
Table of Contents
- What does a full curly hair routine look like, step by step?
- How do you adapt your routine for your curl type and porosity?
- What should your weekly and monthly curl care schedule look like?
- How do you dry and finish curls without creating frizz?
- How do you fix frizz, limp curls, and other common curl problems?
- Which NZ products should you use for your curl type?
- Why consistency beats complexity every time
- Salon-grade curly hair products, delivered to your door in NZ
- Sources
What does a full curly hair routine look like, step by step?
A complete wash day has a clear order. Skipping steps or shuffling them is usually where frizz and limp curls begin.
Step 1: Reset or clarify when needed
Before your regular cleanse, do a clarifying wash once a month (or whenever curls feel heavy and lifeless). The Curly Girl Method recommends a one-time sulfate shampoo reset before switching to sulfate-free cleansers permanently. After that initial reset, clarify only when buildup returns. Signs you need it: dull curls, product that won’t absorb, or a scalp that feels coated.
Step 2: Choose your cleansing method
Pick based on your curl type and scalp needs. A sulfate-free shampoo suits most curl types and gives a proper scalp cleanse. Co-washing (conditioner-only washing) works well for very dry or coily textures between full wash days. Massage the scalp for at least 60 seconds, working in small sections. Rinse thoroughly.
Step 3: Condition and detangle
Apply conditioner from mid-length to ends. For fine or wavy hair, 2–3 minutes is enough. For dense or coily hair, leave it on for 5–10 minutes. Detangle with your fingers first, then a wide-tooth comb if needed, always starting from the ends and working upward. The “squish to condish” technique, pressing water into the hair while the conditioner is still in, helps the cuticle absorb moisture before you rinse.
Step 4: Apply leave-in and layer products
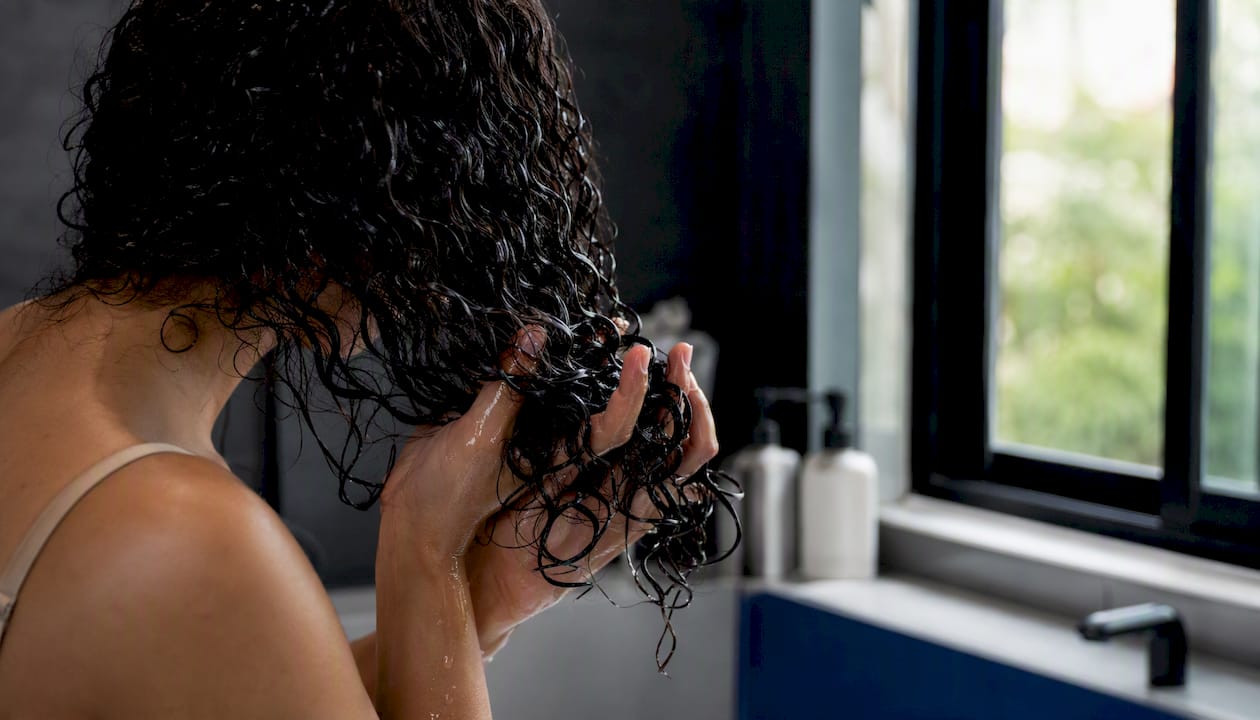
This step is where most people go wrong. Apply products to soaking-wet hair, not damp. When hair is half-dry, film-forming ingredients in gels and creams trap air pockets, which breaks clumps and creates frizz. The layering order is fixed: leave-in first, curl cream second, gel third. Use “praying hands” (smoothing product down the length with palms pressed together) for even coverage, then “rake and scrunch” (raking fingers through sections, then scrunching upward) to encourage clump formation.
Step 5: Dry without disturbing
Plop your hair in a microfibre towel or a cotton T-shirt for 15–30 minutes to absorb surface water and set clumps. Then either air-dry completely, or diffuse on low heat with the diffuser cupped under sections. The rule: once products are on and you’re drying, stop touching. Every touch breaks a clump.
Active time per step:
- Clarify/cleanse: 5–8 minutes
- Condition and detangle: 5–10 minutes
- Product application: 5–7 minutes
- Plopping: 15–30 minutes
- Drying: 30–90 minutes (air-dry) or 20–40 minutes (diffuse)
Pro Tip: Test any new technique at least three times before deciding it doesn’t work. Curl patterns respond differently to humidity, water hardness, and product amounts. One bad result is data, not a verdict.
How do you adapt your routine for your curl type and porosity?
Not all curls need the same products or the same schedule. Knowing your pattern and porosity takes about five minutes and saves you months of trial and error.
Identifying your curl pattern
- Type 2 (waves): S-shaped bends, often fine or medium, tends to go flat at the roots
- Type 3 (curls): Defined spirals from root to tip, more volume, prone to frizz
- Type 4 (coils): Tight coils or zig-zag patterns, densest texture, highest shrinkage
Testing your porosity at home
Float test: Drop a clean strand into a glass of room-temperature water. If it floats for several minutes, porosity is low. If it sinks quickly, porosity is high. If it hovers in the middle, it’s normal.
Slip test: Run a strand between your fingers from tip to root. Smooth with little resistance means low porosity (cuticle is flat). Rough or bumpy means high porosity (cuticle is raised).
Adjustments by curl type
Type 2 (wavy hair routine):
- Use lightweight mousses or foams rather than heavy creams
- Vogue’s wavy hair guide recommends an “edited” Curly Girl approach: lighter moisturizers prevent waves from going flat
- Wash every 2–4 days
- Skip heavy butters and thick creams entirely
Type 3 (curls):
- Medium-weight creams and strong-hold gels work well
- Wash every 4–7 days
- Deep condition weekly
- Troubleshooting cue: if curls stay flat, reduce leave-in amount by half
Type 4 (coils):
- Rich creams, butters, and heavy oils are appropriate
- Wash every 7–14 days
- Protein treatments monthly to maintain elasticity
- Troubleshooting cue: if coils feel stiff, add a water-based leave-in before cream
Porosity-specific adjustments
Low porosity: The cuticle resists moisture entry. Use lightweight, water-based products. Apply conditioner with gentle heat (a warm towel or hooded dryer) to help it penetrate. Avoid heavy butters that sit on top of the strand.
Normal porosity: Most products work. Maintain balance between protein and moisture treatments.
High porosity: The cuticle absorbs quickly but loses moisture just as fast. Protein treatments help fill gaps in the cuticle. Layer a heavier cream or butter on top of leave-in to seal. Glamour’s stylist guidance reinforces that hydration is the foundation: if hair isn’t sufficiently moisturized, no styling product will hold the pattern.
Pro Tip: If you have wavy hair and the full Curly Girl Method is weighing your waves down, that’s the signal to edit. Swap your cream for a foam, halve your gel amount, and see what three wash days tell you.
What should your weekly and monthly curl care schedule look like?
Consistency between wash days is what keeps curls healthy over time. Think of it as a simple maintenance calendar rather than a complicated regimen.
Recommended wash frequency by curl type
| Task | Type 2 (waves) | Type 3 (curls) | Type 4 (coils) |
|---|---|---|---|
| Full cleanse | Every 2–4 days | Every 4–7 days | Every 7–14 days |
| Deep condition | Every 1–2 weeks | Weekly | Weekly |
| Protein treatment | Monthly | Every 4 weeks | Every 3–4 weeks |
| Clarifying wash | Monthly | Monthly | Every 4 weeks |
| Pillowcase wash | Weekly | Weekly | Weekly |
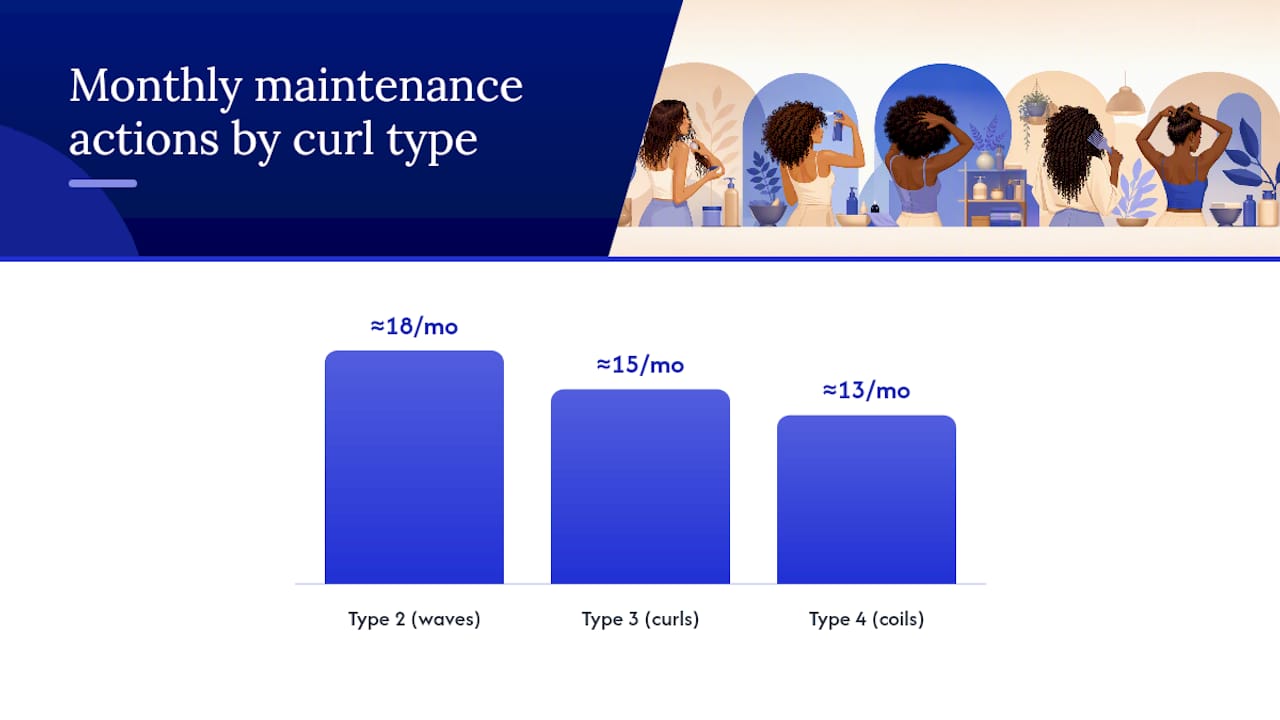
When to clarify
Clarify when curls feel heavy, products stop absorbing, or your scalp feels coated. A clarifying wash strips buildup that regular sulfate-free cleansers leave behind. Once a month is the standard starting point. If you use a lot of styling products or live in an area with hard water, you may need it every three weeks.
Protein vs. moisture: a simple decision rule
Ask yourself: does the hair stretch and then break (needs protein) or does it stretch without snapping back (needs moisture)? Protein treatments rebuild the hair’s internal structure. Moisture treatments restore softness and elasticity. Most curly hair needs more moisture than protein, but coily textures and color-treated hair often need both on a rotating schedule.
Tool care
Clean your diffuser attachment monthly. Wash your microfibre wrap or rapid-dry wrap after every few uses. Replace your satin or silk pillowcase every few months. Product residue on tools transfers back to clean hair and can contribute to the buildup you’re trying to prevent.
How do you dry and finish curls without creating frizz?
Drying is where a good wash day either holds together or falls apart. The method you choose and how you handle your hair during drying makes the difference.
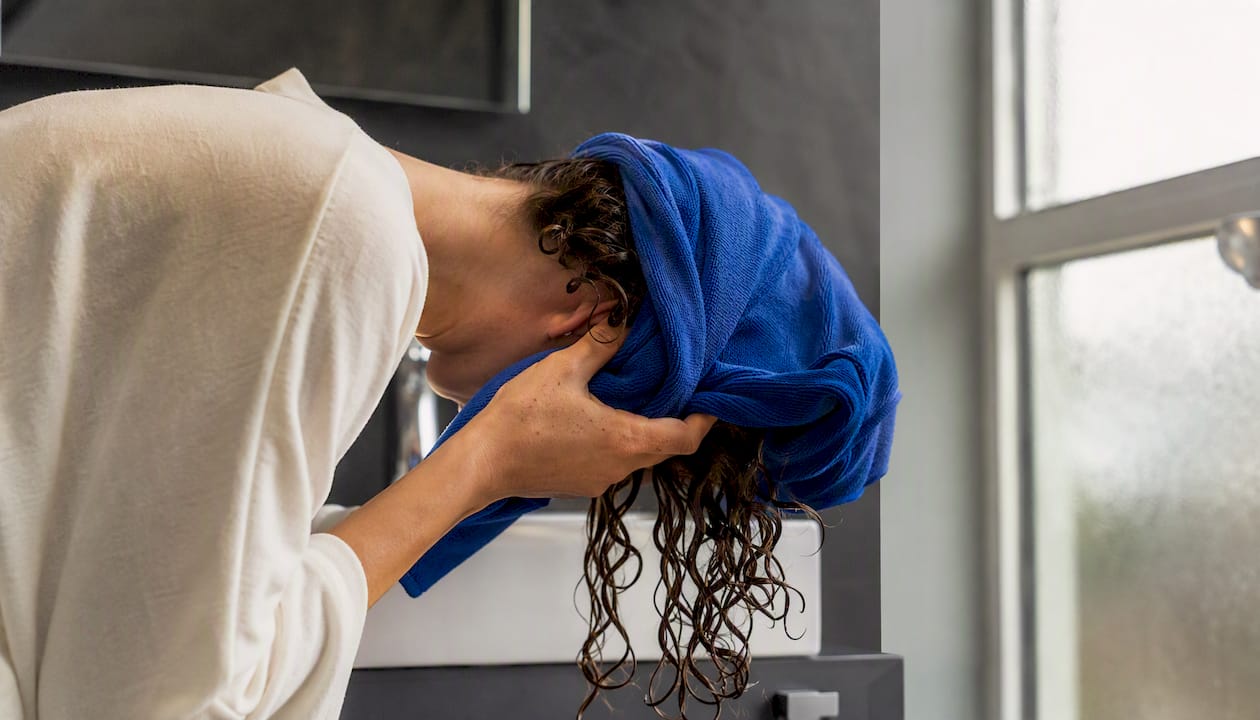
Plopping
After applying all products to soaking-wet hair, lay a microfibre towel or cotton T-shirt flat, flip your hair forward onto it, wrap the sides up, and secure at the nape. Leave it for 15–30 minutes. Plopping absorbs surface water without disturbing clumps, which is exactly what a terry-cloth towel does wrong. The Davroe CURLiCUE Rapid Dry Hair Wrap is designed for this and cuts absorption time without the friction.
Diffusing
Set your diffuser to low heat and medium airflow. Cup sections of hair in the diffuser bowl and hold for 30–60 seconds before moving to the next section. Work from the ends upward. Continuing past that point risks heat damage and frizz from over-manipulation.
Air-drying
The gentlest option. After plopping, simply leave hair down and resist touching it. Air-drying takes longer but produces the softest results for fine or wavy textures. The key is not disturbing the cast while it’s forming.
Do’s and don’ts
- Do use a microfibre rapid-dry wrap instead of a regular towel
- Do scrunch out the crunch only after hair is fully dry
- Don’t rub hair with a towel at any point
- Don’t touch or separate curls while they’re still wet or drying
- Don’t apply gel to hair that has already started to dry
Finishing with oil
A light oil applied after the cast is scrunched out adds shine and reduces frizz without weighing curls down. For fine or wavy textures, one or two drops of a lightweight oil worked between the palms and pressed gently over the surface is enough. Coily textures can handle a slightly heavier application. The Davroe CURLiCUE Hydrating Hair Oil is a curl-specific option that seals without buildup.
Overnight protection
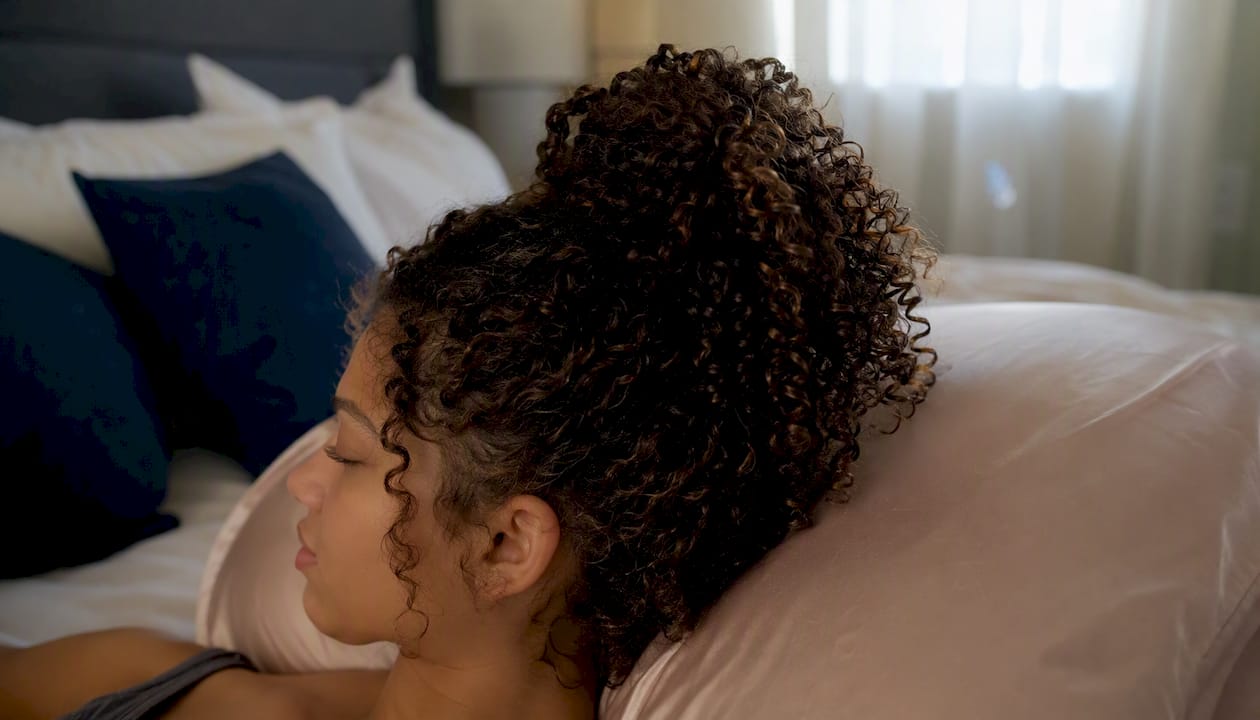
The pineapple method (a loose, high ponytail at the crown) preserves curl shape overnight without flattening. A satin or silk pillowcase reduces friction and moisture loss compared to cotton. A satin bonnet is the most protective option for coily textures. These steps extend your style by one or two days, which means fewer wash days and less manipulation overall.
Pro Tip: Scrunch out the crunch only when hair is completely dry. Scrunching too early breaks the cast before curls have fully formed underneath, and you lose definition.
How do you fix frizz, limp curls, and other common curl problems?
Most curl problems trace back to one of three causes: wrong product weight, porosity mismatch, or technique error. The table below helps you identify which one is at play.
| Symptom | Likely cause | Quick fix |
|---|---|---|
| Frizz all over | Hair not wet enough at application, or too much touching while drying | Re-wet fully before applying products; plop and leave alone |
| Limp, weighed-down curls | Product too heavy for your texture | Switch to a lighter leave-in or foam; reduce cream amount |
| Crunchy cast that won’t soften | Not enough moisture under the gel, or gel applied to damp hair | Add a water-based leave-in before gel; scrunch out cast only when fully dry |
| Uneven clumping | Uneven product distribution or detangling skipped | Section hair and apply product to each section separately |
| Product buildup | Skipping clarifying washes or using silicone-heavy products | Clarify monthly; check ingredient labels for silicones |
Quick checks in under five minutes
- Wetness test: Before applying products, squeeze a section. Water should drip out. If it doesn’t, add more water.
- Slip test: Run a conditioned strand between your fingers. If it feels rough, add more conditioner or a protein treatment.
- Scalp check: If your scalp feels coated or itchy after washing, you need a clarifying wash.
Recovering day-2 hair
Lightly mist hair with water, scrunch gently, and leave it alone. Stylist Aminata cautions against constant mid-cycle refreshing, which can weigh curls down over time. If day-2 curls are beyond a quick mist, it’s better to rewash than to layer more product on top of buildup.
Pro Tip: If you’re not sure whether your issue is product weight or porosity, run the float test on a clean strand before your next wash day. It takes two minutes and tells you exactly which direction to adjust.
Which NZ products should you use for your curl type?
Every product below is available through Prohair in New Zealand, formulated to professional standards, and suited to specific curl needs.
Davroe CURLiCUE Deep Conditioning Rinse — A rich conditioning treatment for type 3–4 textures that restores moisture after cleansing. Use weekly for dense or coily hair.
KOBO Curl Defining Shampoo — A salon-grade cleanser that defines curl pattern without stripping. Suits type 2–3 textures looking for a gentle but effective wash.
Davroe CURLiCUE Curl Balm — A curl-defining cream for medium-to-thick textures. Apply after leave-in for hold and definition without stiffness.
Davroe CURLiCUE Hydrating Hair Oil — A lightweight finishing oil that seals the cuticle and adds shine. Works across all curl types; use one or two drops after scrunching out the cast.
Davroe CURLiCUE Rapid Dry Hair Wrap — A microfibre wrap designed for plopping. Absorbs water faster than a cotton towel and reduces friction during drying.
Davroe Ends Repair Leave-In Treatment — A leave-in that targets frizz and split ends. Apply to soaking-wet hair as the first product layer, especially on color-treated or damaged lengths.
KOBO PEPTIDEPRO pH Shielding Shampoo — A pH-balancing cleanser that protects the hair’s acid mantle. A strong choice for color-treated curls or anyone whose scalp reacts to standard shampoos.
Simple buying checklist for salon-grade curly hair products
Look for these ingredients:
- Sulfate-free cleansers (sodium cocoyl isethionate, decyl glucoside)
- Humectants in leave-ins and conditioners (glycerin, aloe vera, panthenol)
- Film-formers in gels (carbomer, hydroxyethylcellulose)
- Silicone-free formulas if you’re following CGM principles
Match product weight to curl type:
- Type 2: lightweight foams, thin leave-ins, light gels
- Type 3: medium creams, standard-hold gels
- Type 4: rich creams, butters, heavier oils
Practical note: Salon-grade formulas from Prohair are the same professional lines used across more than 500 New Zealand salons. That means the concentration and quality of active ingredients is consistent, not diluted for retail. Free shipping applies on orders over $100, which makes stocking a full routine straightforward.
If you wear hair extensions, adapting your curl routine matters for the health of both your natural hair and the extensions. The Minx Hair Extensions care guide covers how to adjust washing and conditioning techniques when extensions are in place.
Why consistency beats complexity every time
There’s a tendency in the curl community to treat every new product as a potential fix. More products, more steps, more hope. What I see consistently, looking at how curls actually respond over time, is the opposite: the people with the most defined, healthy curls are usually using fewer products with more precision.
The research backs this up. Stylist Aminata’s guidance points to a simplified six-step backbone as the foundation for all textures. The technique matters more than the product count. Applying to soaking-wet hair, layering in the right order, and leaving hair alone while it dries will outperform a ten-product shelf used in the wrong sequence.
Prohair’s range is trusted by salons across New Zealand precisely because the formulas are built to work within a simple routine, not to require one. If you’re starting out, pick three products, commit to the routine for four wash days, and adjust from there. That’s the approach that actually works.
Salon-grade curly hair products, delivered to your door in NZ
Curls need the right products, not more products. Prohair stocks professional-grade Davroe and KOBO formulas used in salons across New Zealand, so you get the same quality at home without the guesswork of drugstore alternatives.
Whether you’re building your first curl routine or refining one that’s almost working, the full Prohair range covers every step: cleanse, condition, style, and finish. Free shipping applies on orders over $100. Browse the full Prohair collection and find the right products for your curl type, or go straight to the KOBO Curl Defining Shampoo and Davroe CURLiCUE Deep Conditioning Rinse to start with the two steps that make the biggest difference.
Sources
The following references informed the guidance in this article and are worth reading for additional depth:
- Curly Girl Method How To: The Easiest Routine for Beginners 2026
- The only curly hair routine you need, according to an expert stylist | Vogue India
- The Curly Hair Routine: Step-by-Step Beginner Guide | Zenvy
- The Ultimate Wavy Hair Routine, According to the Pros | Vogue
- How to Style Wavy Hair, According to Pro Hairstylists | Glamour